LÖVE
To get started with LÖVE, first things first you need to download it!
You can get the download link for your platform from the website:
https://love2d.org/#download
Once downloaded, see the following section for your platform for steps to install, then jump to the "Running Your Code" for Windows/MacOS/Linux section.
Note
Just running the LÖVE executable will give you the famous 'No Game' screen!
You need to actually write code for LÖVE to run (we'll get to that later)
There is no game editor with LÖVE, everything has to be coded by you (that's the fun part!)
Windows #
On Windows, you can download either the 'installer' or the 'zipped' version.
Installation
The installer will allow you to install LÖVE, meaning you will be able to run love in your terminal.
When you've installed , you should now be able to run the following command in a terminal:
love --version
If successful this will show you a message like below:
LOVE 11.5 (Mysterious Mysteries)
Standalone
The zipped version contains the lovec.exe that you can run directly by clicking on it, or in a terminal using the path to the .exe, i.e.:
PATH/TO/lovec.exe --version
Note: There is both a love.exe and a lovec.exe executable. The lovec.exe is the one you should use during development as it will output logs to your terminal.
MacOS #
On MacOS, inside the zip file you'll find the love.app which you can then put into your Applications folder.
From here you could just run LÖVE by clicking on it, or through the applications path:
/Applications/love.app/Contents/MacOS/love --version
However if you're feeling fancy you could make an alias!
First we need to edit the alias file, using:
open -a TextEdit ~/.zshrc
You can then add the following new line to the list:
alias love=/Applications/love.app/Contents/MacOS/love
Restart the terminal and then you'll be able to run LÖVE using the alias:
love --version
Linux #
For Linux, installation can vary per flavour, so it's recommended to download the AppImage as this contains all the depencies required inside itself.
Once you have the AppImage downloaded be sure to set the correct permissions first with:
chmod a+x love-11.5-linux.AppImage (change version to be the version you're using if needed)
You can then run the AppImage with:
love-11.5-linux.AppImage --version
Depending on your distro you might want to add this to your PATH.
You could also create an alias, to do so you'd first need to edit the alias file. This will differ per distro, for Ubuntu you can edit your ~/.bashrc file:
gedit ~/.bashrc
You can then add the following new line to the file at the end:
alias love="PATH/TO/love-11.5-linux.AppImage"
Restart your terminal and you'll now be able to run love as a standlone command, i.e:
love --version
Android #
As long as you have LÖVE for Android APK sideloaded from the official site, the following methods will work:
-
Transfer your game folder to
/sdcard/Android/data/org.love2d.android/files/games/lovegame(/sdcard/lovegamealso works in Pie and earlier) wheremain.luais found at/sdcard/Android/data/org.love2d.android/files/games/lovegame/main.lua. In Android 11 or later, these directories only accessible through MTP in PC. Then run LÖVE for Android. -
Transfer/download a .love of your game to the device and click on it. Some file explorers will run the .love using LÖVE for Android. If it does not you can install ES File Explorer which will. If you use Dropbox, you can use that to open .love files. If that doesn't work, use LÖVE Loader and pick the .love file there.
Be sure to check the Android FAQs for more info.
iOS #
In order to run LÖVE for iOS, it must first be compiled and installed. To do that, you’ll need macOS, Xcode 7 or newer, and the LÖVE for iOS source code downloadable from the home page.
- If the libraries folder isn't present in the
love/platform/xcode/iosfolder, download the iOS libraries from the homepage, and place theiOS/librariesfolder from the zip there. They contain the third-party library dependencies used by LÖVE. - Open the Xcode project found at
love/platform/xcode/love.xcodeprojand select thelove-iostarget in the dropdown menu at the top of the window. - You may want to change the Build Configuration from Debug to Release for better performance, by opening the "Edit Scheme..." menu from the same dropdown selection.
- Choose either an iOS Simulator device or your plugged-in iOS device in the dropdown selection to the right of the previous one, and click the Build-and-Run (▶︎) button to the left, which will install LÖVE on the target device after compiling it.
LÖVE on iOS includes a simple list interface of games that are installed (until you fuse a .love to it for distribution.)
- To put a
.lovefile on the iOS Simulator after LÖVE is installed, drag the file onto the iOS Simulator’s window while it’s open. LÖVE will launch if it’s not running already. If another game is currently active you may need to quit LÖVE for the new game to show up (press Shift-Command-H twice to open the App Switcher menu on the iOS Simulator.) - To put a
.lovefile or game folder on your iOS device after LÖVE is installed, you can either download it with the Safari, or transfer it from your computer through iTunes when your device is connected: open iTunes, go to the iOS device which has LÖVE installed, go to the ‘Apps’ section and scroll down and find LÖVE, and add the .love file or game folder to LÖVE’s Documents section. On more recent iOS and Mac versions, you can use Airdrop to transfer your.lovefile from your Mac to where LÖVE is installed.
Running Your Code (Windows, MacOS, Linux) #
Once you have a way of running LÖVE and seeing the version using the section above for your platform, you can then use it on the folder that contains your code.
LÖVE will look for a main.lua file as an entrypoint.
Go and create a new folder somewhere named learninglove and inside that folder create a main.lua file with the following text:
print('Hello LÖVE!')
You can run your code in two ways - you could drop the main.lua file onto the .exe and it'll run the .exe and pass in the main.lua file.
Or you can run this code by using your terminal command, pointing to the folder you created using the commands shown above for your specific platform.
For example on Windows you would do:
love PATH/TO/learninglove
or
PATH/TO/lovec.exe PATH/TO/learninglove
While the drag-and-drop approach is quick, the terminal version will be faster during development once you're using an IDE for coding.
If all is successful a window will launch showing a black screen instead of the 'No Game' screen, and you'll see 'Hello LÖVE!' printed in the terminal you ran it from.
![]()
Now you're ready to start learning Lua and LÖVE!
LÖVE 12 #
At the time of writing, the latest released version of LÖVE is 11.5 (Mysterious Mysteries) - however, the next major version of LÖVE, 12.0 (Bestest Friend), has been in the works for the last year or so and is nearing completion. It's even been used in a few released games!
If you're interested in trying out the new version, you can get the nightly builds from Github, head to the LÖVE repo and go to the actions tab:
https://github.com/love2d/love/actions
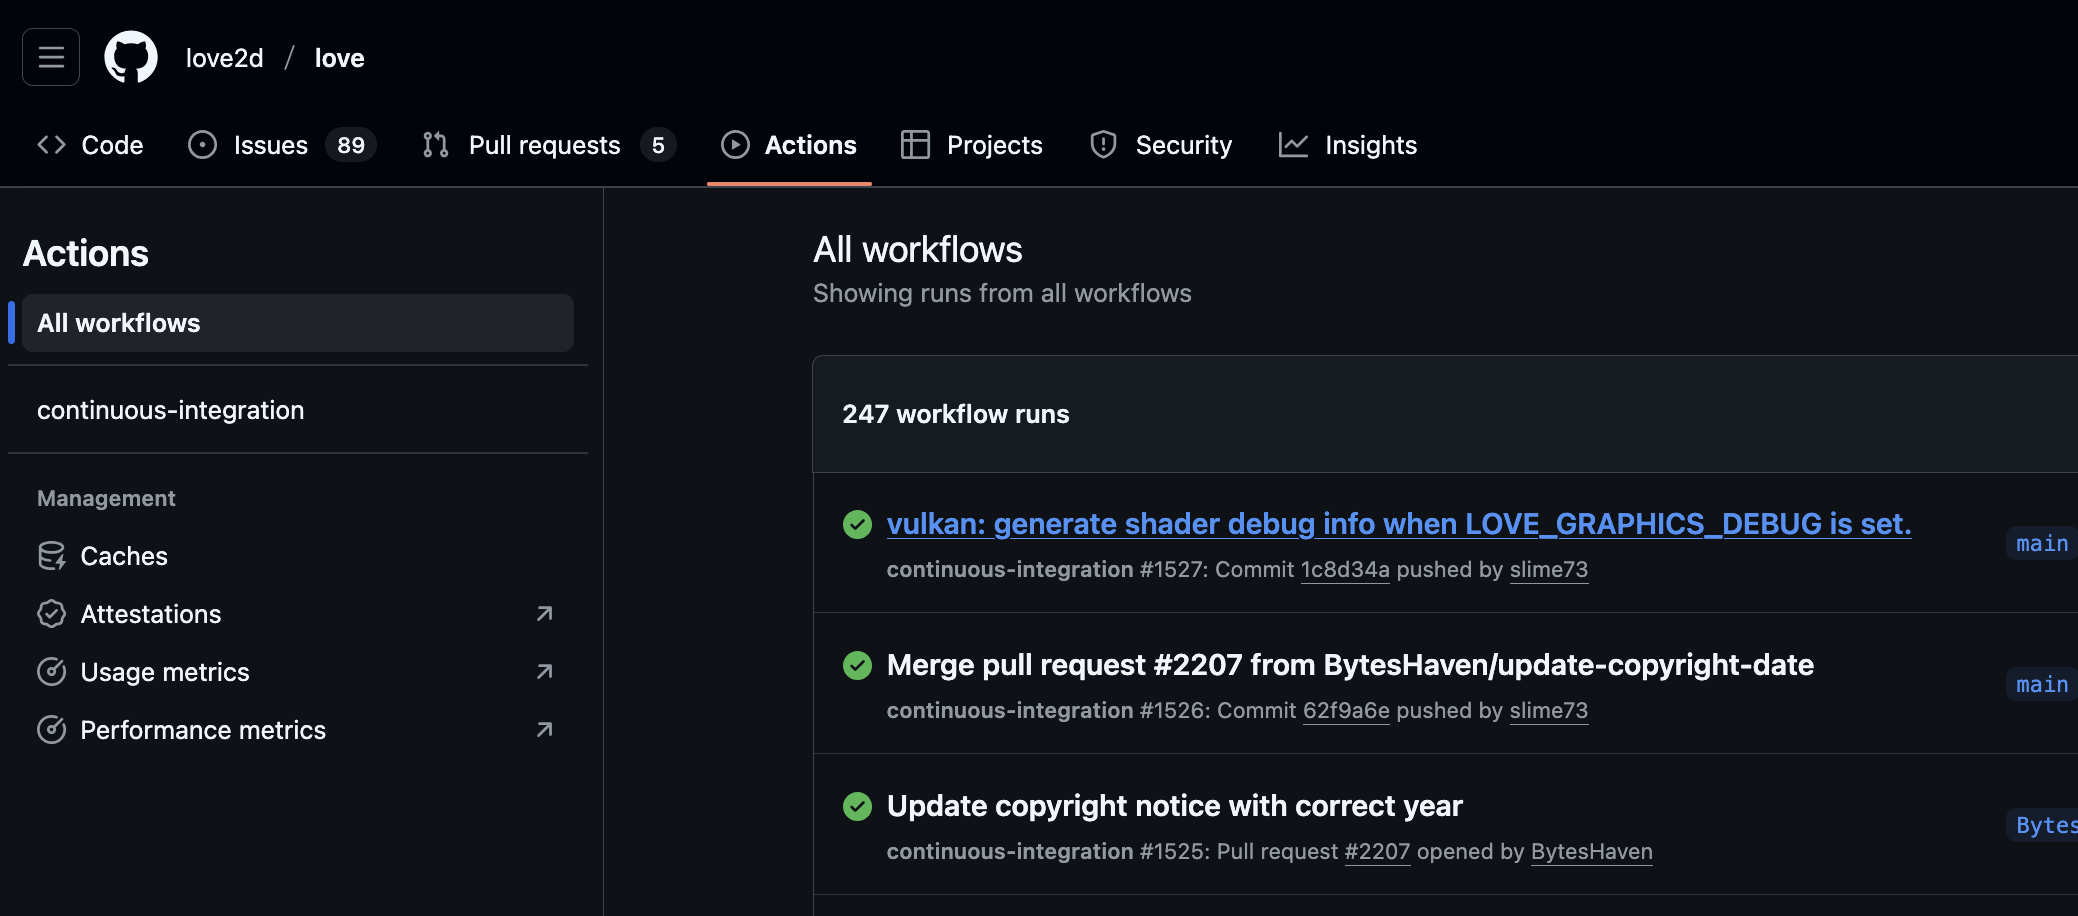
Any time that new commits are made to LÖVE's source a new build is generated, so you can pick any of the recent successful actions.
Click on the successful workflow action and scroll down the page to find the actual zip files to download.
You can then follow the same steps as before with the updated LÖVE executables.
You can view a list of all the changes between 11.5 and 12.0 here:
https://love2d.org/wiki/12.0
Some things of note include changes to love.physics to make things easier to scaffold, new metal and vulkan graphics back-end, and compute shaders!